
Vegan Sourdough Apple Cider Doughnuts
/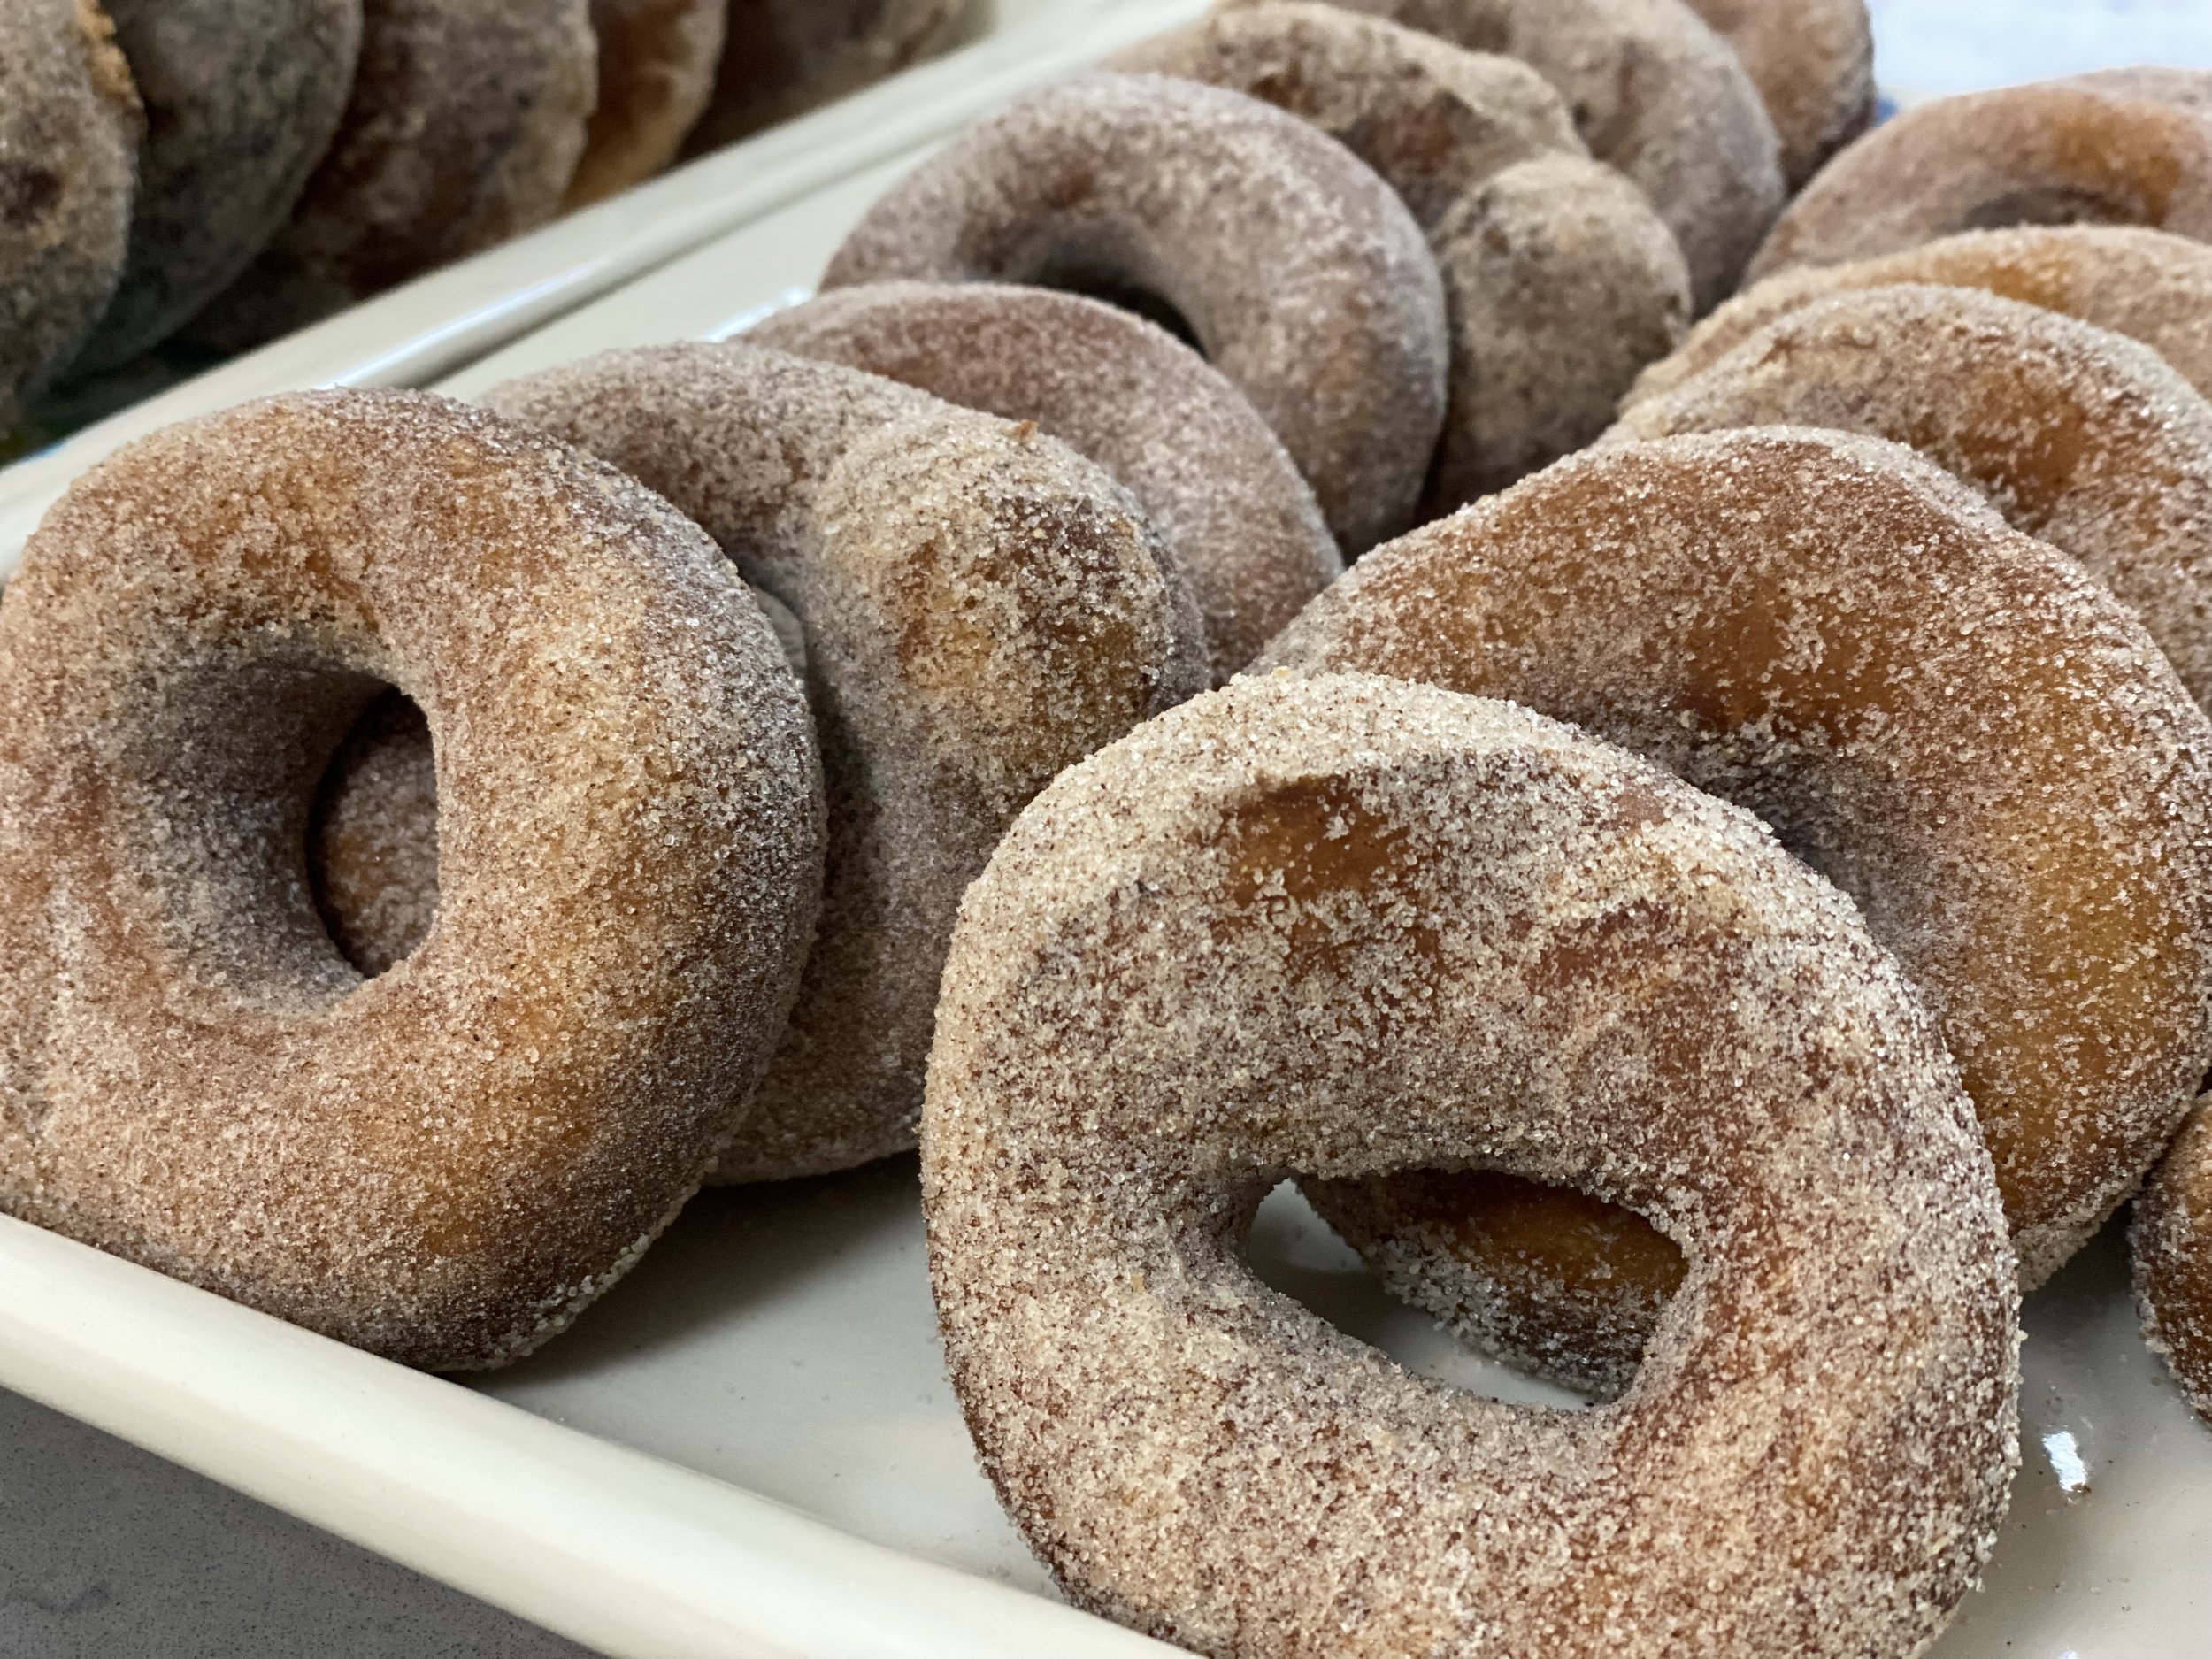
Living in Coastal New England apples are a mainstay in the Fall and apple cider can be found in abundance right through winter. These doughnuts are the real deal, delivering on flavor, texture and total satisfaction according to my husband who has actually eaten non vegan cider doughnuts from our local cider mill. For me, this was only my second foray into making homemade doughnuts and the first time I would taste a cider doughnut. I can assure you, this recipe will be a mainstay in our house because there are few things better than homemade doughnuts. I will say that these are best eaten the same day so be sure to have some bellies on hand to receive their bounty!
Considerations:
I highly suggest reading the recipe through in its entirety before embarking on this journey.
Recipe makes approx 9-12 doughnuts depending on the size cutter used
You’ll need to have a ripe sourdough starter ready for a feeding
Plan your timing based on a morning fry and a two day process from feeding the starter to frying the doughnuts for instance. Feed the starter, allow 12 hours for it to rise, mix dough, stretch and fold, rest dough 4 hours, refrigerate dough approx 20 hrs, prep dough and second rise approx 3 hours, fry doughnuts. This can seem like a daunting schedule, I find it easiest on a weekend so I feed my starter on a friday night and by Sunday I’m making doughnuts. The instructions below are based on this friday to sunday model.
Tip for frying: cut 4x4” parchment squares and have them ready for Roll & Rest stage on Sunday morning.
Prep Levain/Starter: Friday evening

72 grams Bread Flour
72 grams water
29 grams ripe sourdough starter (100% hydration)
18 grams cane sugar
In a large jar combine the levain ingredients and stir well to combine, cover loosely and let the levain ripen over night at room temp or for a 12 hr period. This levain will rise high and be bubbly so be sure you use a large enough jar.
Dough Prep: Saturday Morning
530 grams bread flour plus some for dusting
169 grams apple cider
127 grams JUST egg liquid egg
113 grams plant based butter at room temp (i used Country Crock Avocado Oil Plant Butter)
54 grams cane sugar
12 grams fine sea salt
1 tsp Vietnamese Cinnamon (any cinnamon will do but this has the best flavor)
1/4 tsp ground nutmeg
Cut the stick of butter into smaller pieces and be sure it’s room temp. In the bowl of a stand mixer fitted with the dough hook attachment, add flour, cider, egg, sugar, salt, cinnamon AND the prepped levain from the night before. Set the mixer on low and mix until all ingredients are combined and no dry bits remain. Turn the mixer up to medium-low and mix for an additional 3-5min until the dough begins to clump around the hook. This is a semi strong dough but likely won’t completely pull away from the edge of the bowl. It’s ok if it seems more wet, wet dough is good dough!
Rest the dough 10 min in the mixing bowl uncovered.
Now it’s time for the butter. Adding one to two small pieces at a time with the mixer on low, allow the butter to begin to incorporate before continuing to add more. This process will take 5-10 min. Once all the butter is added, turn the mixer up to medium-low and mix until the dough smooths and begins clinging to the hook. The dough may seem quite tough and dense at this point, that’s ok.
Transfer the dough to a large bowl and cover with plastic wrap and allow to rest for 1 hour.
Stretch & Fold
After 1 hour perform a single set of stretch and folds. To perform stretch and fold, dampen your hands with water and think of the bowl as a clock face. fold the dough at 12 o’clock to o’clock, turn the bowl a quarter turn and continue until you have folded four times from 12 to 6.
Let the dough rest covered at room temp for an additional 3 hours.
Chill Dough: Saturday afternoon/night
Chill the covered dough for 15-20hrs in the refrigerator
Roll & Rest: Sunday Morning
The chilled dough will be easy to work with and won’t snap back when rolled. Lightly flour a work surface and turn out chilled dough, lightly dust the dough with flour and begin to press with the heels of your hands until you can use a rolling pin to further roll the dough approx 1/2” thick. Use a 3.5” circle cutter or the rim of a glass to cut out as many circles as you can and then use a 1.5” cutter to cut the centers and reserve these to fry up doughnut holes or incorporate them back into the dough scraps to re-roll and continue to cut additional doughnuts until the dough is efficiently used up.
Transfer each doughnut to its own parchment square on a baking sheet, cover and final proof for 3-4 hours in a warm spot or in the oven with the light turned on. Don’t fret if they don’t rise a ton and don’t look poofy, they rise when they fry!
Prep Topping: Sometime Before Frying
1 tsp Vietnamese Cinnamon
1/4 tsp ground nutmeg
50 grams cane sugar (if your sugar is too large you can run it through a blender to create a finer more dusty grain which will adhere to doughnut surface better
Combine all ingredients in a shallow bowl and set aside.
Fry Time: Sunday Late Morning/Early afternoon
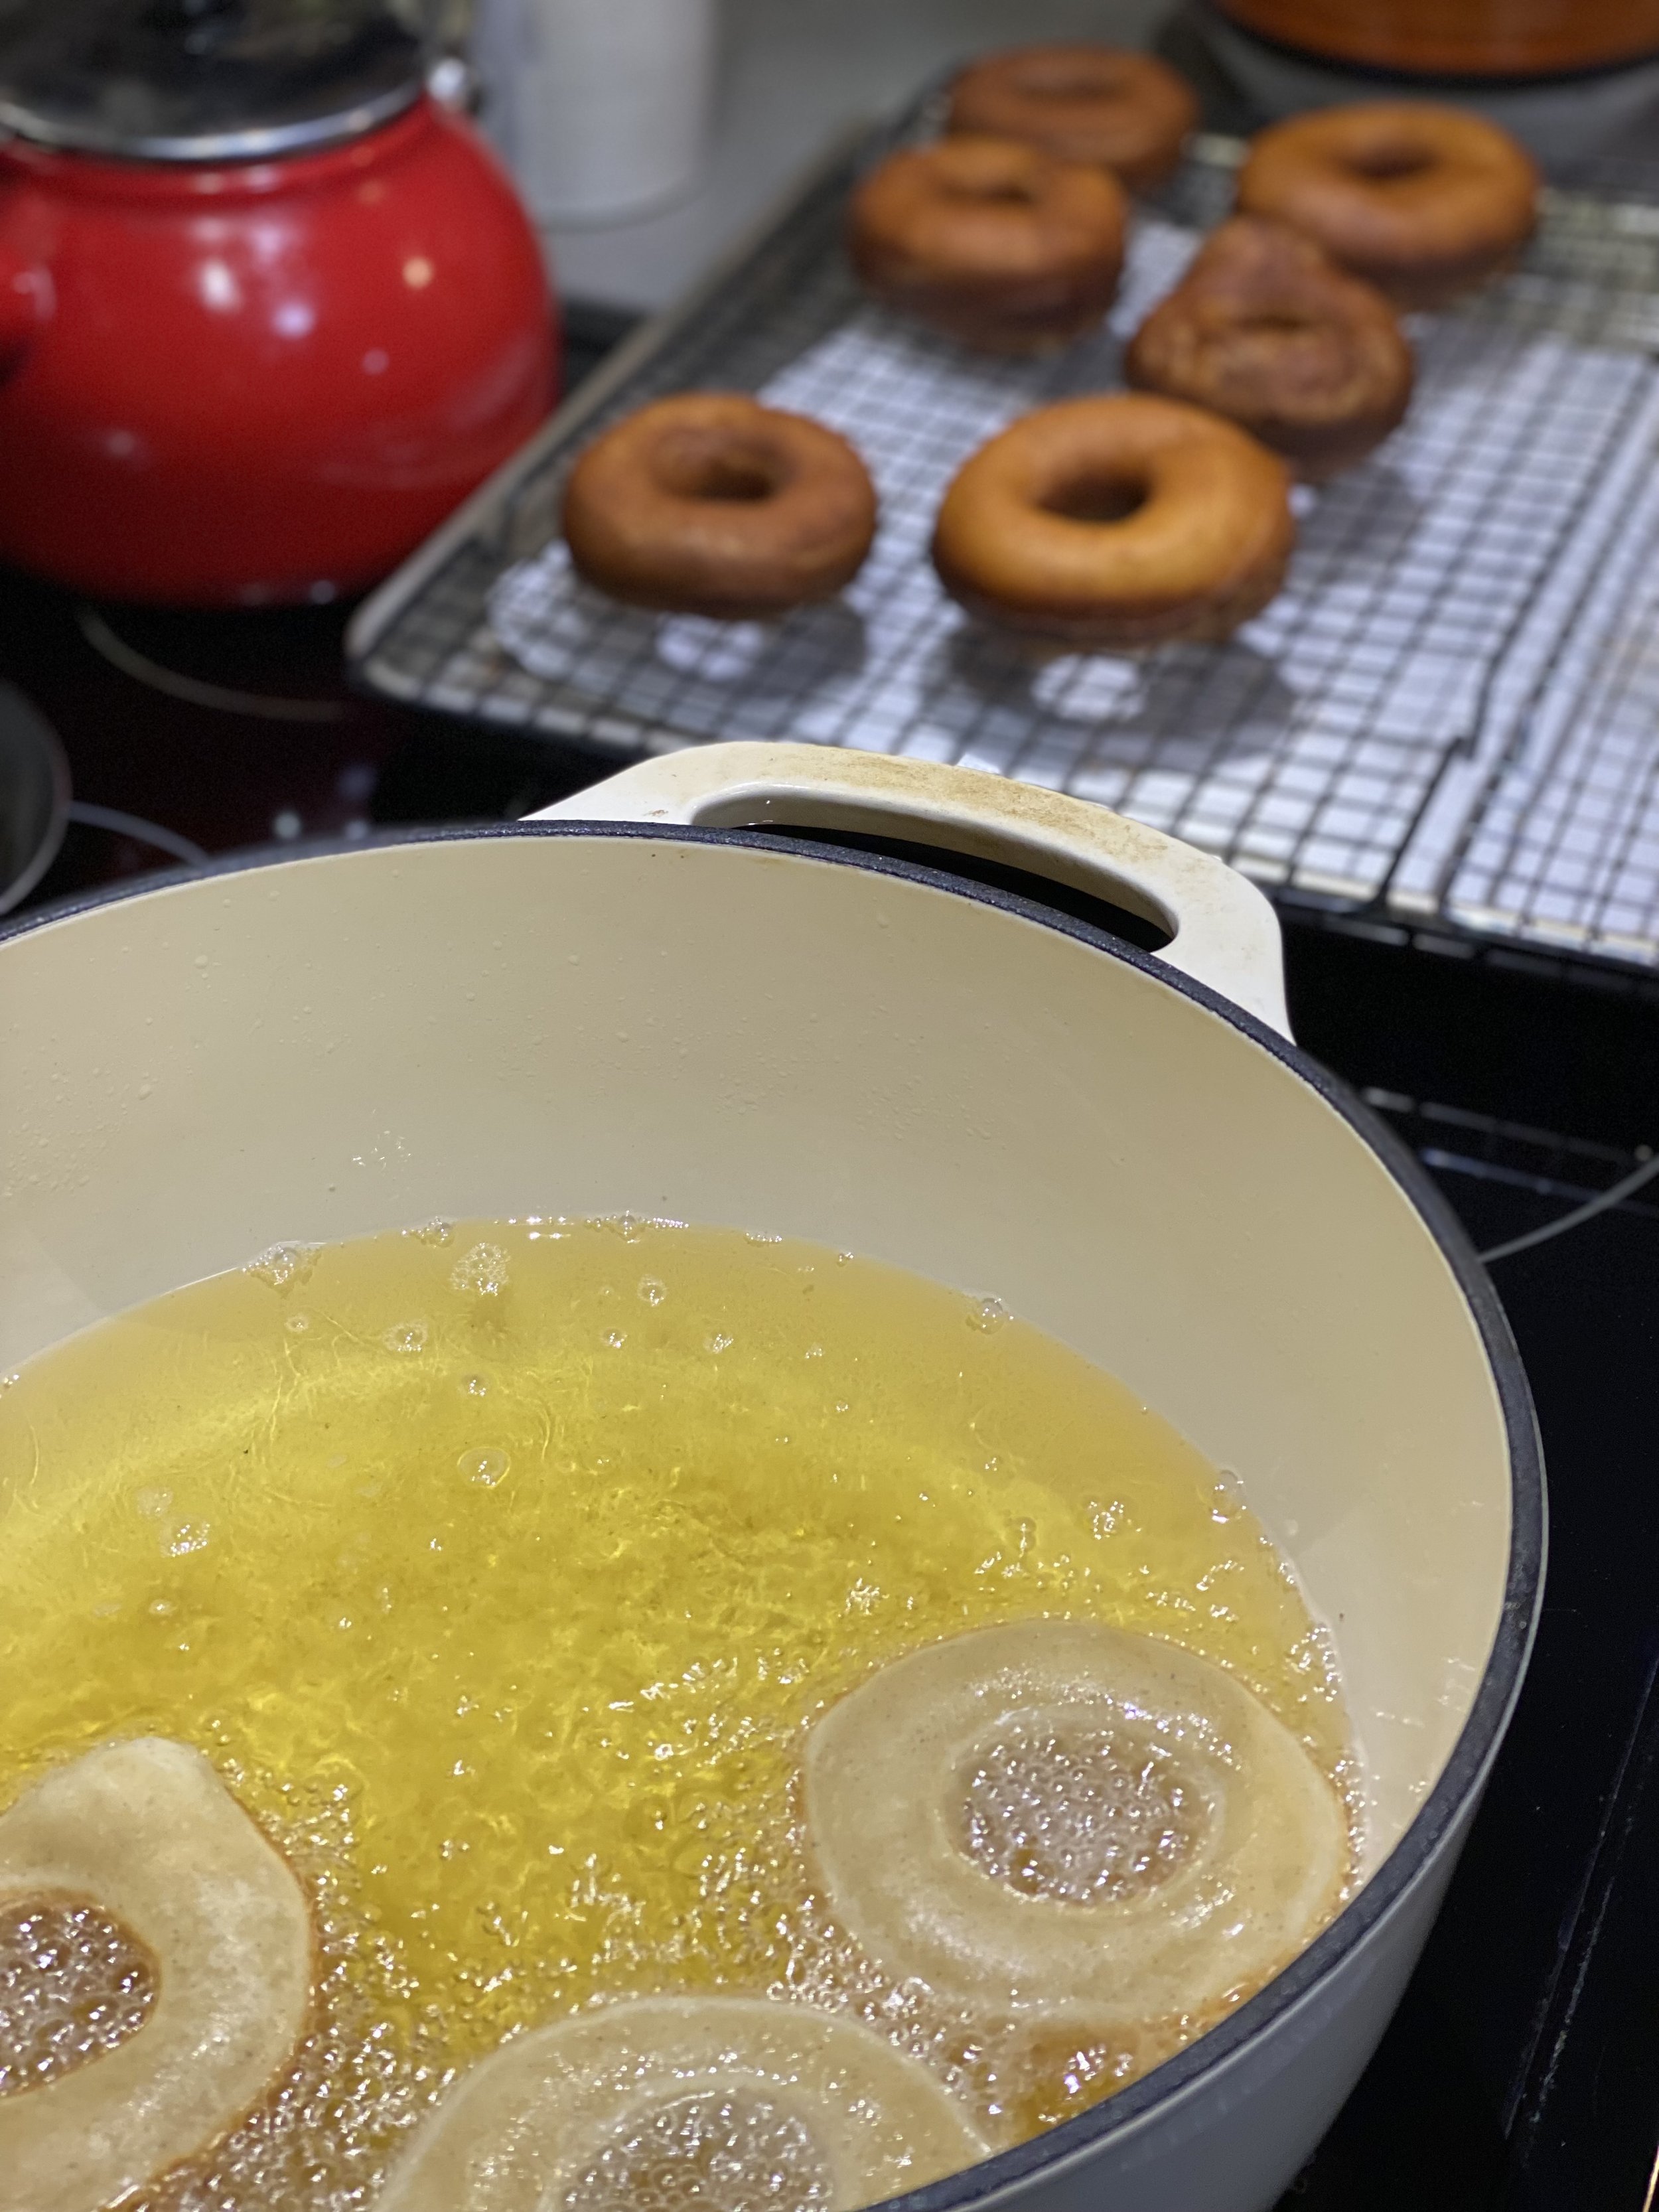
Prepare a dutch oven or fry machine with an adequate amount of oil so the doughnuts can float and flip without touching the bottom of the vessel. Heat the oil over medium heat until it reaches between 350-360 degrees or until a tiny drop of water sputters when dropped into the hot oil. When the oil is ready, carefully release doughnuts from parchment into oil by holding one edge of parchment and slipping the parchment and dough into the oil and carefully pulling the released parchment back out. I like to have a big bowl on hand next to the stove to put these greasy bits of parchment so they don’t drip all over the place. Fry 3-4 doughnuts at at time 3-4 min on each side and then flip and fry to golden brown. Use a spider to pull the doughnuts from the oil and place them on a wire rack with paper towels under it to catch remaining drips.
Top & Enjoy: While they are still warm!
Toss each doughnut in the cinnamon topping until well coated and enjoy while warm! Once again, these are best enjoyed the same day as they tend to stale up pretty quickly after day 1.